トンネルの作り方(家庭菜園でトンネル栽培)

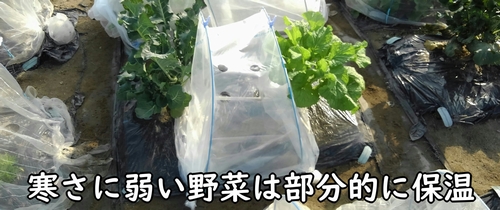
今回は、トンネルの作り方を説明します。トンネルは、防虫や防寒が必要な「秋冬野菜」の栽培で設置することが多いです。大切な野菜を、虫や寒さから守ることができるので、覚えておくと便利ですよ。
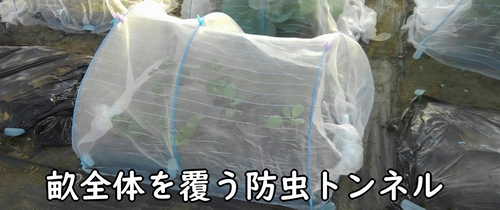
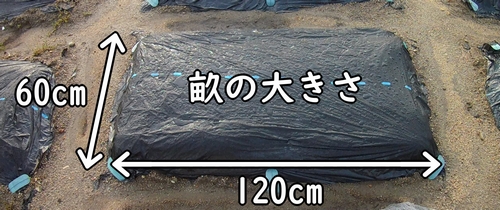
トンネルを設置する畝は、約60cm×120cmの大きさ。この畝全体を覆う防虫トンネルを作ってみます。
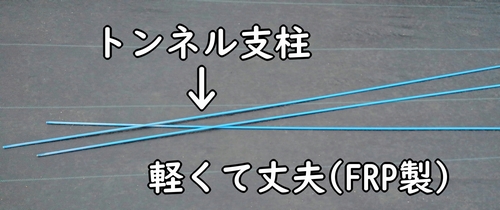
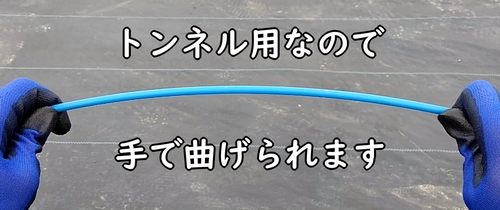
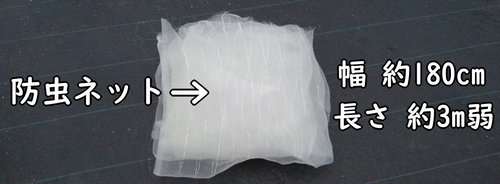
支柱は、トンネル用の曲がる支柱を使用。害虫が入らないよう、防虫ネットも用意します。
トンネル支柱(ダンポール)は、FRP製のものが軽くて丈夫、扱いやすいのでオススメです。防虫ネットは、支柱の上にかぶせるので、幅が約180cm、長さは約3m弱くらいが必要です。
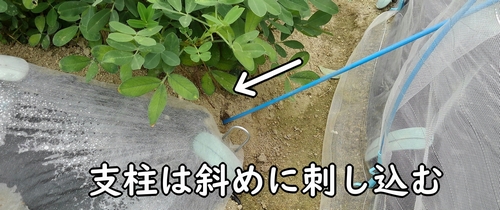
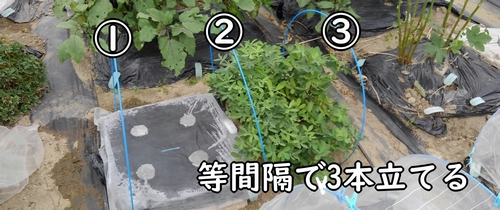
トンネル支柱は、畝の内側に向かうよう、少し斜めに刺し込みます。刺し込む深さは20~30cmくらい。土が硬いと、少し力が必要かもしれません。立てる数は3本。等間隔になるよう設置します。
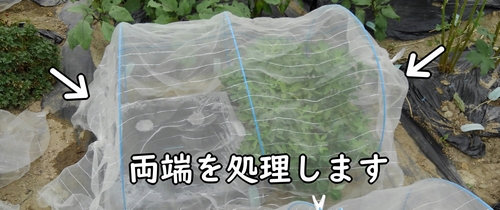
支柱が立ったら、その上に防虫ネットをかぶせ、トンネル状にします。ネットには、中心線が分かるように、色付きのラインが入ってると思うので、それを畝の真ん中に持ってくるようにします。
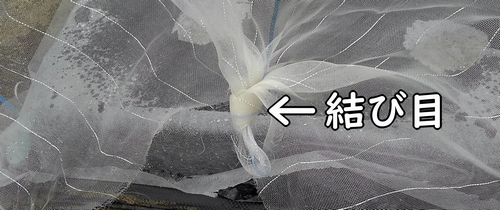
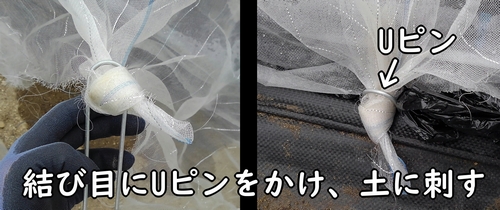
トンネルの両端は結び目を作り、その結び目にUピンを引っかけ、ピンを地面に刺して固定します。ピンをネットに刺してしまうと、穴が空くので注意して下さい。
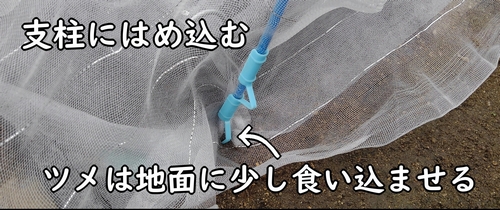
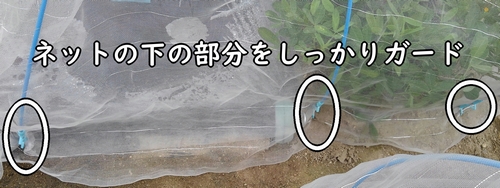
支柱側のネットの固定は、トンネルパッカーを使います。この留め具を、ネットの上から支柱にはめ込み、固定します。トンネルパッカーは、「ツメ」が付いてる方を下にして使います。(ツメを地面に少しくい込ませる。)


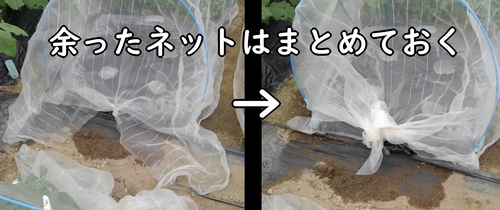
防虫ネットが余っている部分は、軽く縛ってまとめておきます。
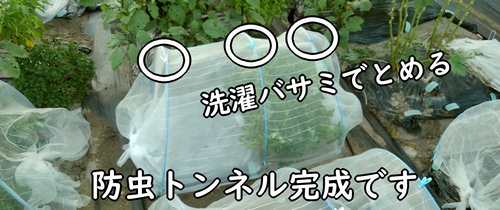
あとは、上の部分がズレないよう、洗濯バサミでとめます。これで、基本のトンネル(防虫トンネル)完成です。
動画版はこちら