How to make grow tunnel (Set up garden tunnel for vegetables) – Tunnel for growing vegetables
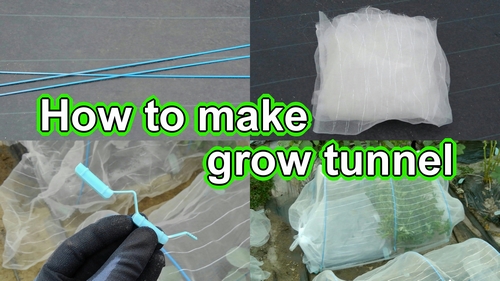
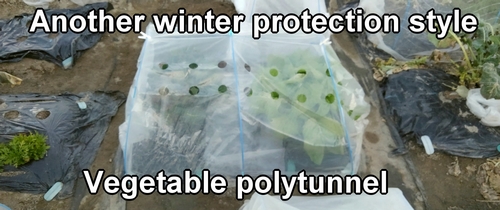
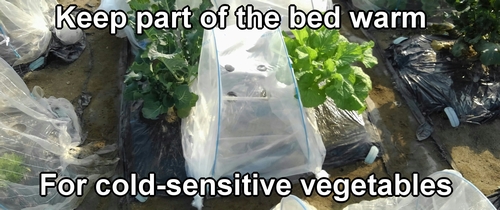
This time, I will explain how to make a grow tunnel (garden grow tunnel). Grow tunnels are often used for growing fall and winter vegetables that need protection from bugs and cold. They help keep your vegetables safe from insects and cold weather, so it’s useful to know how to make them.
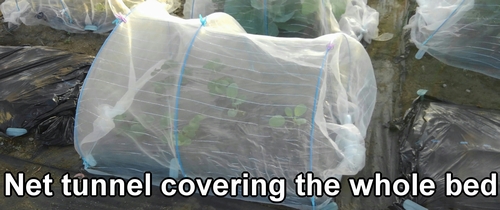
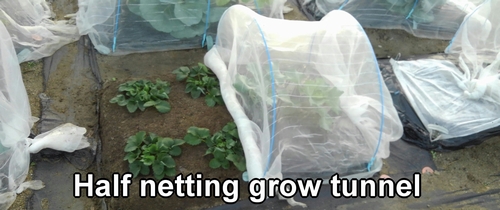
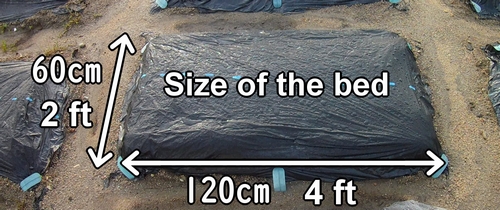
The bed for the grow tunnel is about 60cm by 120cm (2 feet by 4 feet). We will set up an insect netting grow tunnel (mesh grow tunnel) to cover the whole bed.
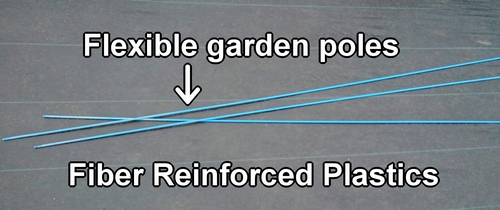
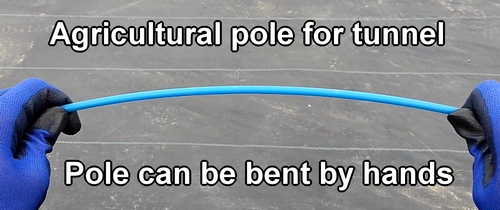
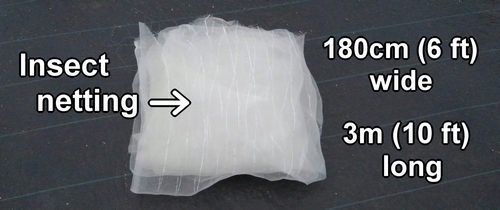
Use bendable poles (flexible garden poles) for the grow tunnel. Also, prepare insect netting (bug netting for garden) to keep pests out.
FRP (Fiber Reinforced Plastics) poles for tunnels are light, strong, and easy to handle, so they are recommended. The insect netting should be about 180cm (6 feet) wide and just under 3m (10 feet) long, as it will be placed over the poles.
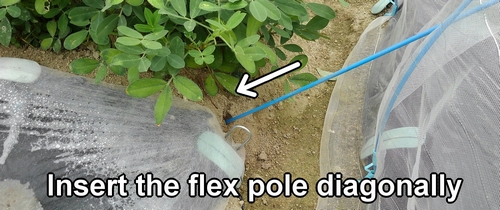
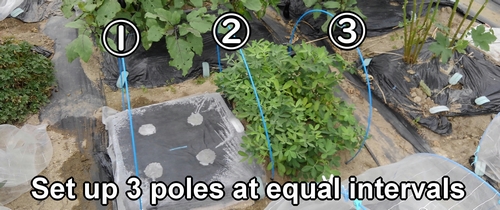
Insert the flexible poles diagonally toward the inside of the bed and set up 3 of them at equal intervals. The poles should be inserted about 20cm to 30cm (8 inches to 12 inches) deep.
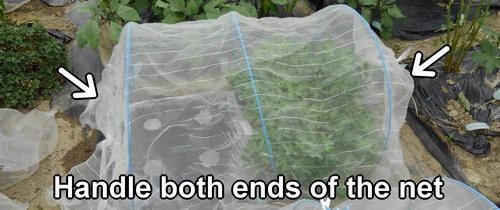
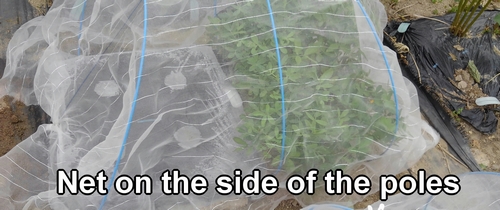
Cover the net over the poles. The insect netting has colored lines in the center, so place it with the lines in the middle of the bed.
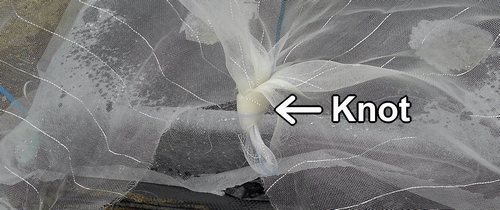
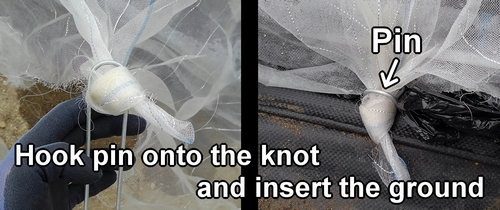
The edge of the insect netting is tied with knot, and U-shaped garden pin is hooked onto this knot. The garden pin is then inserted into the ground to secure it. Please be careful not to insert the pin directly into the insect netting as it may cause holes.
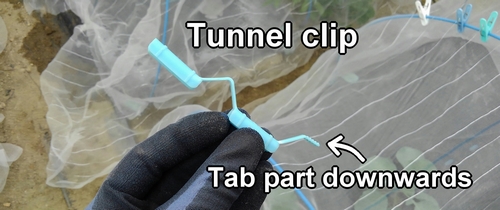
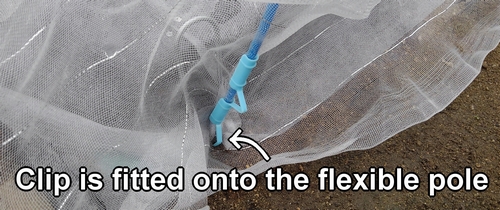
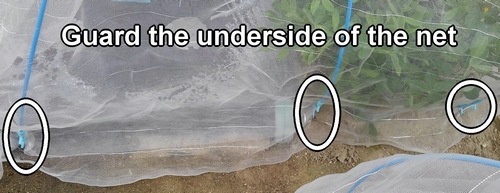
The insect netting on the side of the flexible poles is secured with a tunnel clips. The tunnel clips are fitted onto the flexible poles, sandwiching the insect netting in between. The tunnel clip is used with the projection part facing downwards. (Embed the projection part slightly into the ground.)
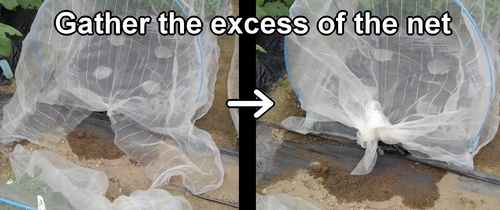
Tie and gather any excess of the insect netting.
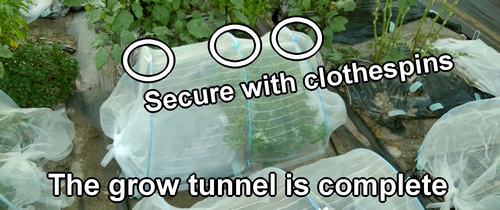
Secure the insect netting with clothespins. This completes the grow tunnel (garden tunnels for vegetables) setup.
Following is the video for how-to. English subtitles are available.