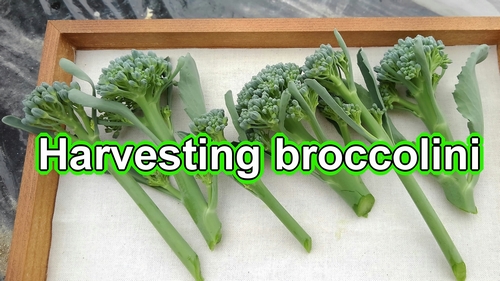
Harvest the broccolini (Growing broccolini in garden) – How to grow broccolini?
Grow broccolini in chemical free cultivation. This time, I would like to harvest broccolini.
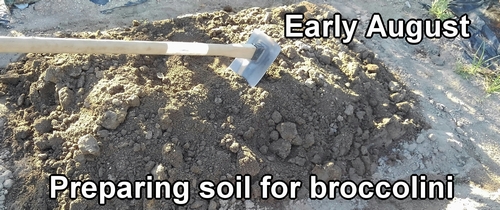
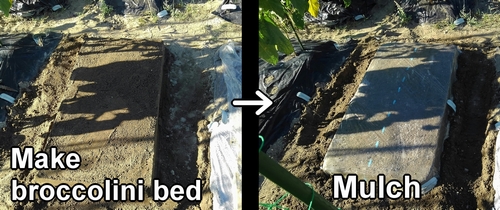
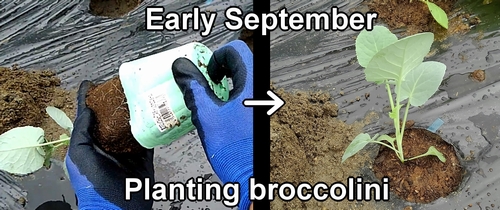
We prepared the soil for the broccolini in early August and planted the seedlings in early September.
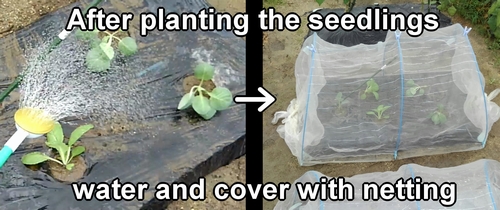
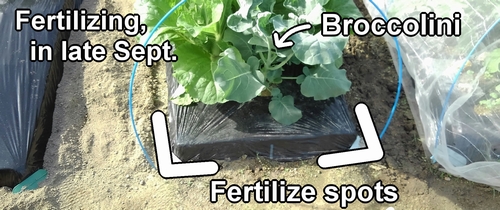
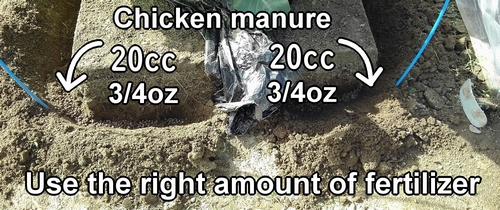
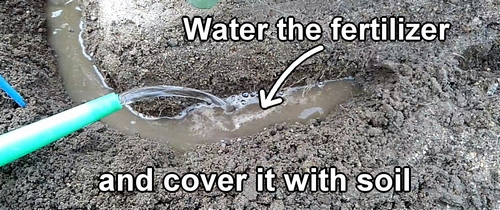
Afterward, with no diseases or pests, broccolini grew well. About 3 weeks after planting, around late September, we fertilized the broccolini.
A crucial point to note during fertilizing is to always follow the recommended amount of fertilizer. If you give too much fertilizer in an attempt to make broccolini grow larger, it can lead to increased occurrence of diseases, pests, and aphids.
If you’re unsure of the appropriate amount of fertilizer, use a smaller amount and observe the situation.
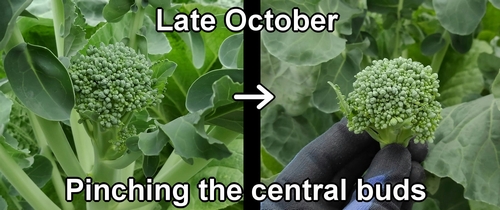
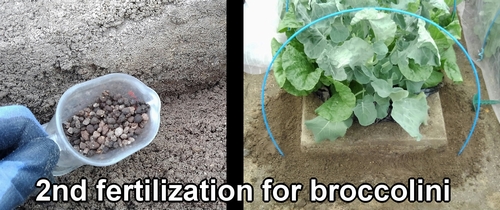
In late October, we harvested the central buds of broccolini, performing pinching, and applied a second round of fertilizer.
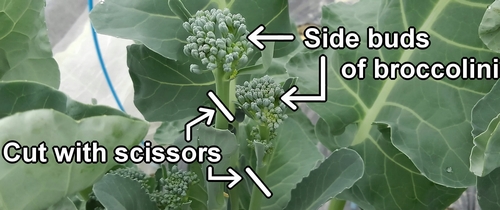
To harvest broccolini, pluck the side buds attached to the tips of the side shoots. (Cut with scissors.) When harvesting, it’s good to cut the broccolini stems at an angle. Cutting at an angle prevents water from accumulating on the cut surface, making it less prone to mold and diseases.

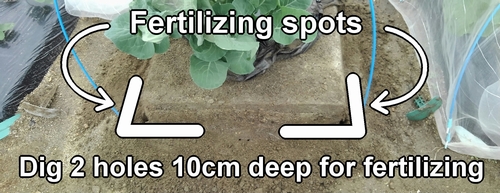
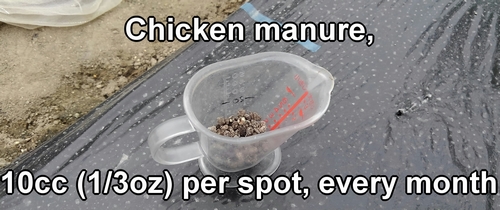
From now on, we will harvest broccolini while fertilizing once a month. Fertilizing spots are two per bed of broccolini, applying 10cc (1/3oz) of chicken manure per spot.
If broccolini continues to grow well, we can harvest it until around March next year.

Following is the video for how-to. English subtitles are available.