Fertilizing ginger root (4th), brinjal and pepper (5th) – Growing ginger root, brinjal, and pepper
How to grow ginger root plant, brinjal and green capsicum in the ground cultivation. This time, I will handle ginger plant, brinjal plant and green capsicum care. (Ginger root, brinjal plant and green capsicum gardening tips.) We fertilize the ginger plant, brinjal, and green capsicum.

Additional fertilizer for ginger root plant (Ginger plant care)
First, let’s start with fertilizing the ginger root plant. Ginger root has passed about 4 weeks since the last fertilization. This time is the fourth fertilization.
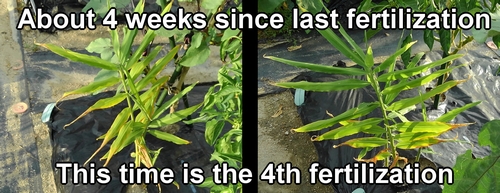
Fertilizing ginger root plant, last time was in early August. We started fertilizing ginger root plant in mid-June and have already done it three times in mid-July and early August.
The way we fertilize ginger root plant remains the same as before. For ginger, fertilize once between the plants. For the first ginger root fertilization, there are cuts in the mulch, so that serves as a marker. We use chicken manure for fertilizing ginger. The amount of fertilizer used is 30g (1 oz).
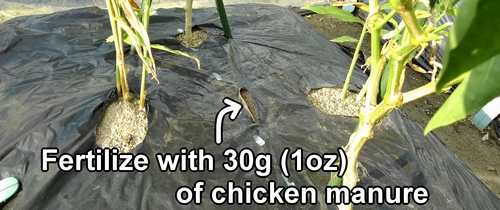
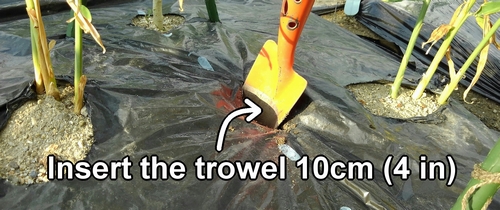
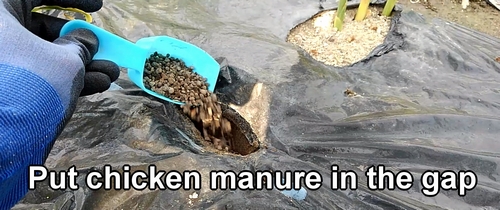
After fertilizing the ginger root plant, water the fertilizer and cover it with soil. (When you water the fertilizer, it becomes easier for microorganisms to decompose.)
We cover the fertilized soil to prevent pests from gathering. If the fertilizer is left on the soil surface, its smell may attract pests, which could potentially harm the ginger.
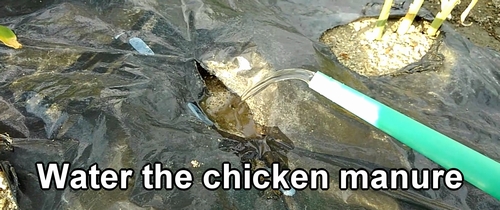
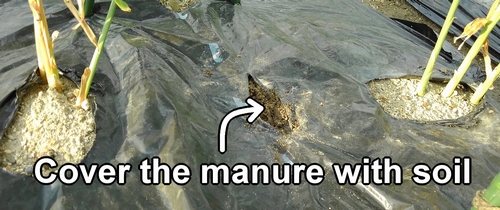
With this, fertilizing the ginger root plant is complete.
Additional fertilizer for brinjal plant and green capsicum (Brinjal and capsicum plant care)
Next is fertilizing the brinjal plant and green capsicum. It’s been about 30 days since the last fertilization. This is the fifth time.
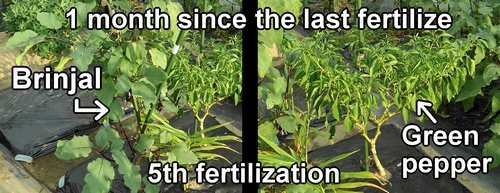
This bed where we planted brinjal plant, green capsicum, and ginger root plant has been cultivated since May, it’s been over 4 months now. Due to the intense heat, the soil in the bed seems to have dried and hardened, so I’ll loosen it a bit before fertilizing.
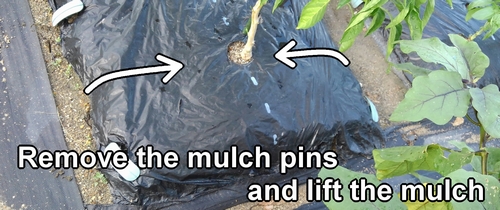
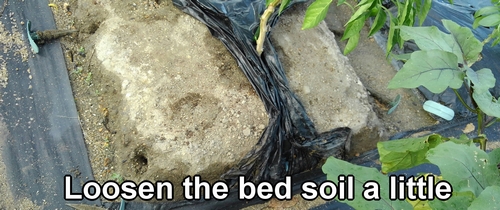
Water the soil and loosen it with a trowel about 20cm (8 inches) away from the base.
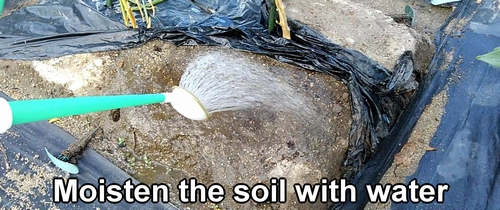
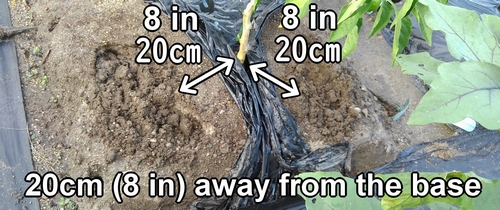
After loosening the soil, dig around 2 spots about 10cm (4 in) deep each, and put 30g (1 oz) of chicken manure in each spot.
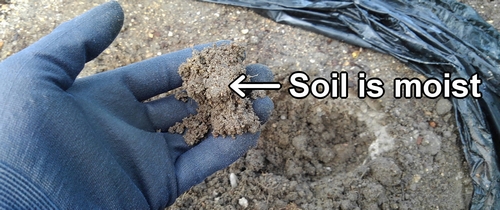
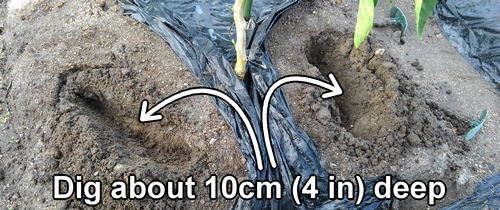
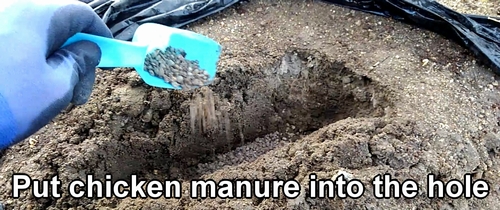
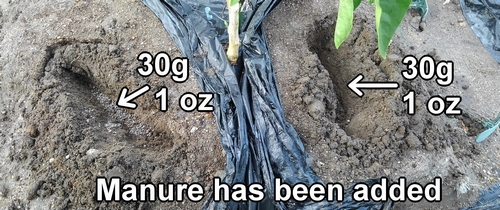
After fertilizing, water the chicken manure and cover it with soil. Then place the mulch back.
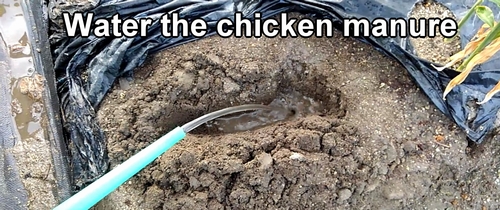
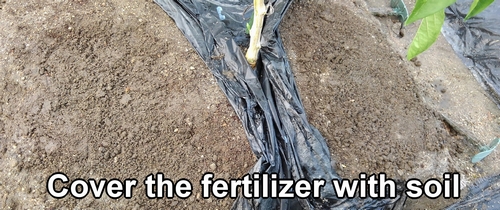
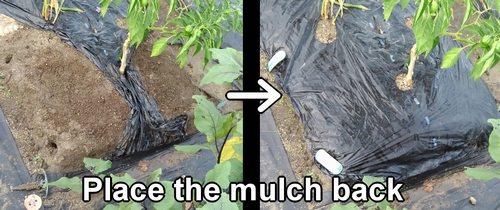
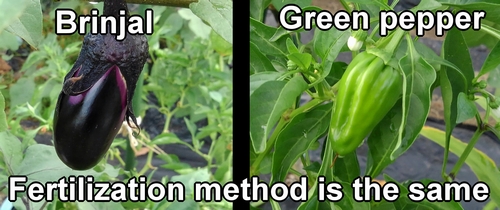
Fertilize both the brinjal plant and green capsicum using the same method, and the task is complete.
Following is the video for how-to. English subtitles are available.
Fertilizing ginger root (4th), brinjal and pepper (5th) – Growing ginger root, brinjal, and pepper – YouTube
How to grow brinjal plant? I summarized the cultivation process of brinjal plant. Best way to grow brinjal plant. (Grow your own brinjal plant.)
We planted brinjal plant seedlings in early May.
The first fertilization for the brinjal plant was done around late May.
When the brinjal plant bears its first fruit, we set up sturdy stakes. (Growing eggplant vertically.)
When the brinjal plants grow to a certain size, we regularly prune and fertilize them while continuing to harvest.
Related information on ginger cultivation(Frequently Asked Questions for growing ginger root)
Can you tell me the growing schedule for ginger? (How to grow ginger root)
For ginger, prepare the soil from mid to late April. Use fertilizer like cow manure compost, chicken manure, and canola cake. Plant ginger root from early to mid-May. Ginger likes warm weather, so make sure to plant it after the temperature has risen enough. For the ginger roots you use to plant, it’s a good idea to let them sprout first to make sure they grow well.
Once ginger has sprouted, it doesn’t need much care. But regular fertilizer (side dressing) is still necessary. About one month after planting, give the ginger its first fertilizer. After that, keep adding fertilizer every month, 3 to 4 times.
The harvest time for ginger is around mid to late October. The sign for harvesting is when the ginger leaves start to turn yellow and dry up. Since ginger root is harvested as a whole plant, use a shovel or trowel to dig it up from the soil.


Discussion
New Comments
No comments yet. Be the first one!